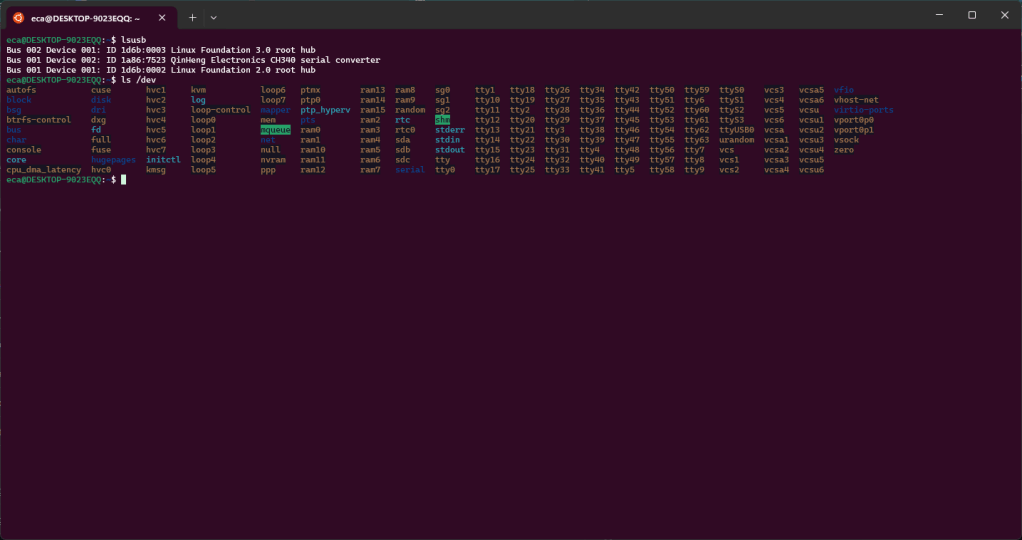
In the previous post we saw how to connect our ESP2282 board via USB to our WSL. In this post we see how to use ESPHome into our WSL. If everything worked we will have the following configuration. As you can see we have the “ttyUSB0” device, this represents our board.
First we install the components missing from the default Python installation of WSL: “pip” and “venv”.
sudo apt update
sudo apt install python3-pip
sudo apt install python3.10-venv
Now let’s create the directories that we will use. The parent directory will be “ESPHome”, under this we will create “env” with the Python venv and “esphome” with the ESPHome repo clone.
mkdir ESPHome
cd ESPHome/
python3 -m venv env
git clone https://github.com/esphome/esphome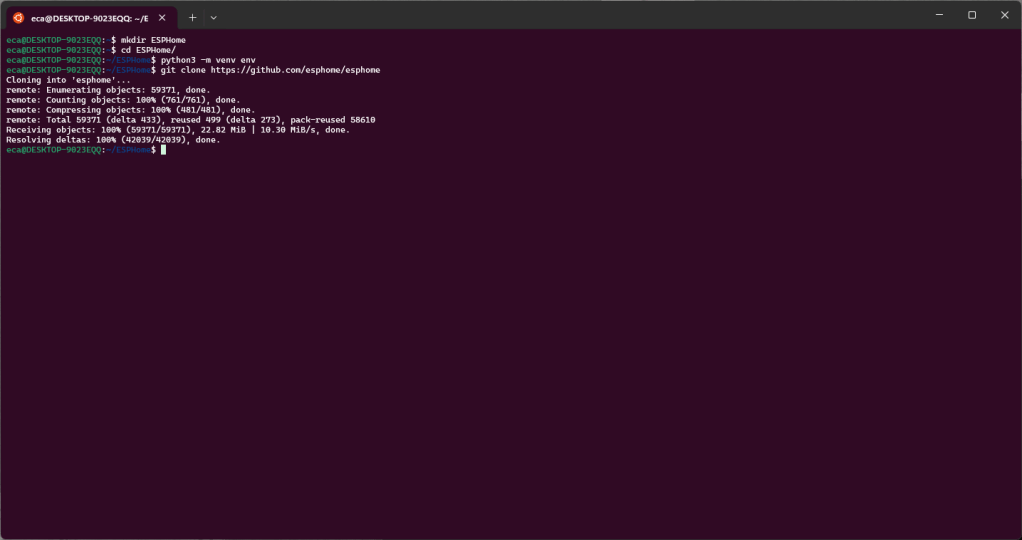
Now let’s activate the venv and install the ESPHome dependencies.
source env/bin/activate
cd  esphome
sudo python3 setup.py install
Once this is done we can verify that everything works by trying to invoke “esphome”.
As indicated in the documentation we can start the wizard to try to install our firmware on the board using this command
esphome wizard livingroom.yamlIf everything went well we can install the firmware on the board with the following command
esphome run livingroom.yaml --device /dev/ttyUSB0The first run will take some time because it need to download all dependencies and libraries. At the end of the download the new firmware will be compiled and installed on the board.

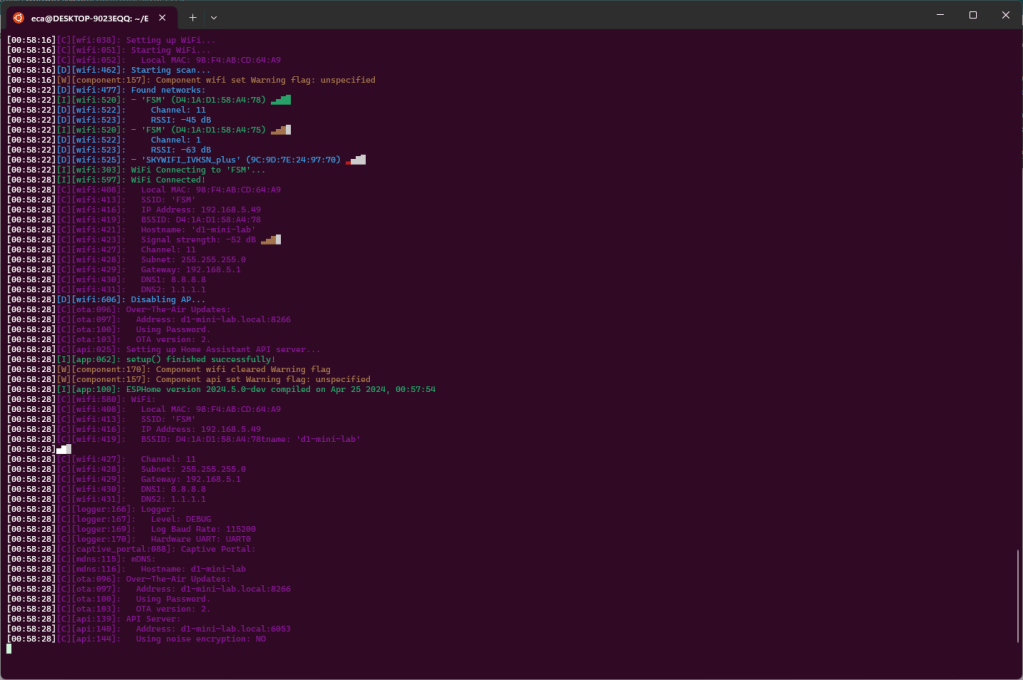
Once the firmware has been installed, the board will be started and it will connect to the WIFI network configured during the wizard and in the output we will find all the information relating to the available WIFI network as well as the information relating to the WIFI network to which the device is connected.
Now that the board is installed and configured to use your WIFI, you can disconnect it from the USB port and power it using a power supply or another computer and connect to the board itself using WIFI, also to carry out a new firmware upload. To do this you can use the previous command omitting the device.
esphome run livingroom.yamlIf you get an error like this after uploading

you can fix it by using these commands to update protobuf
pip uninstall protobuf
pip cache remove protobuf
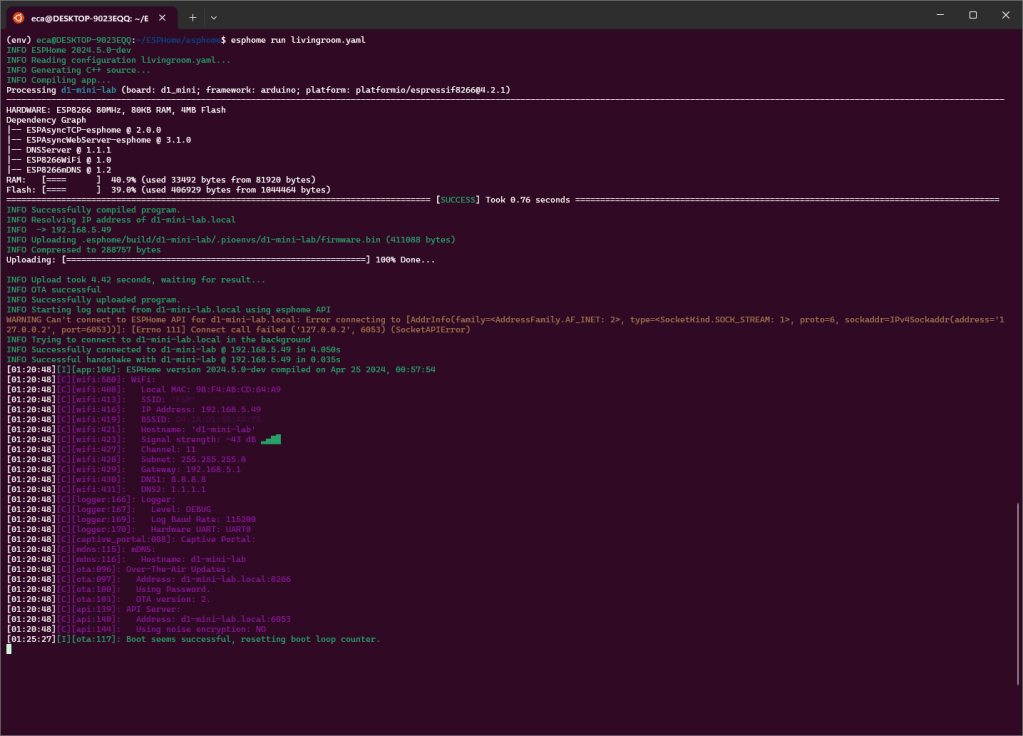
pip install --no-binary :all: protobufIf the execution is successful you will get output similar to this.
I hope this article is useful to you. In the next few days I will continue with my experiments and I will try to write something useful for everyone 🙂

This helped me a lot Emiliano, thanks for sharing this.