I decided to check out ESPHome. This is a very interesting project and I think I will write something about it here in the future too. For now, however, I thought I’d write a first quick post on how to connect a USB device to WSL. In fact, my workstation is a Windows 11 machine and for certain tasks I prefer to use Linux, WSL is perfect for me. However, the connection of USB devices is not automatic and therefore I describe the necessary steps here.
The device I will use as an example in this article is an ESP8266 board.
After connecting the board using a USB cable I find the new device in Device Manager
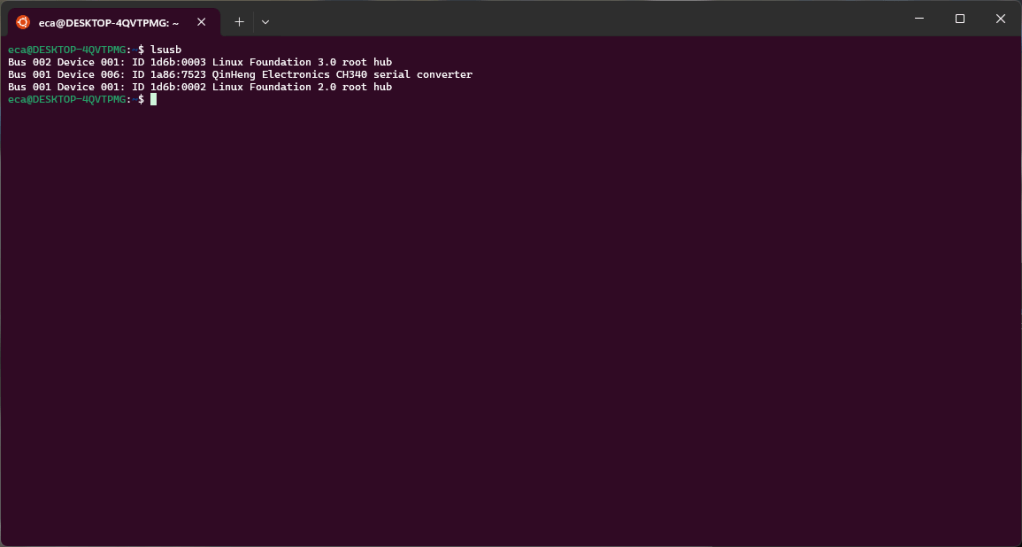
However, within WLS the device is not present.
To be able to connect the device to WSL it is necessary to follow some steps described in this article and install software. The link to the software to install is always present in this article:
Once the software is installed you can use the “usbipd” command to connect the USB device to WSL. The command will need to be used within a PowerShell terminal started as administrator.
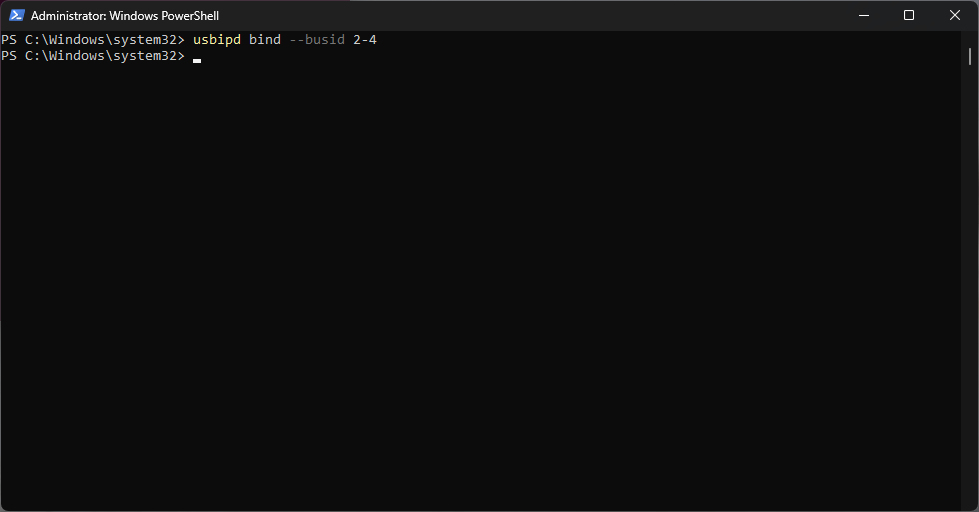
First of all, using “usbipd list” we are going to identify the device we want to connect to WSL.
In this case the device is identified by busid 2-4. Using the “usbipd” command with the “bind” option we are going to share the device.
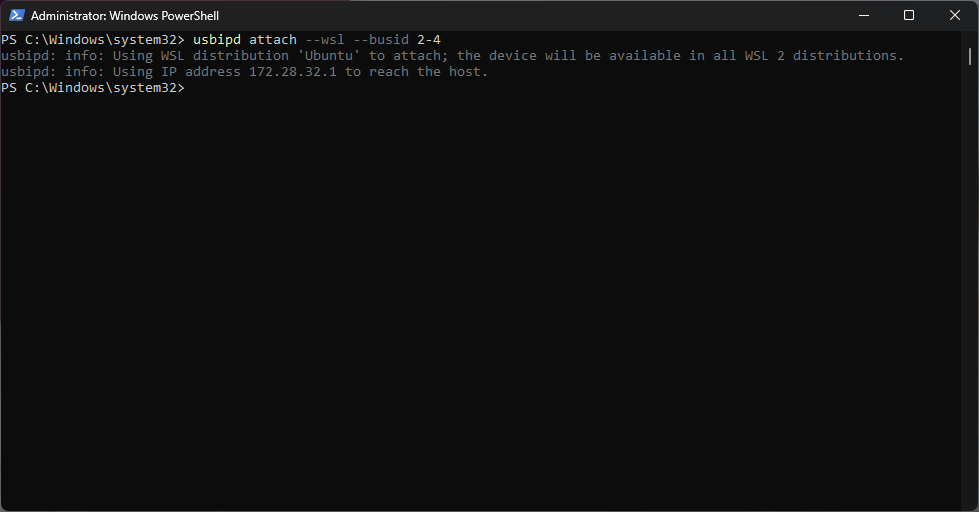
At this point we can connect the device to WSL using the “attach” option.
I just released a web application for generating typos. This service exposes a resource that can simply be invoked by the browser or any http client (eg curl) and returns a list of strings that look like the original string. For now the request is not that much customizable, the next releases will allow you to configure the algorithm that generates the strings.
The project starts from the desire to monitor the Internet in search of threats but also in search of situations that are not correlated with each other but which, with time or with support, may be at the basis of larger and currently unpredictable phenomena.
The first phase of the project deals with timely monitoring: the solution monitors the domains that are registered, collects information on registrations and hosting and checks the contents of the sites. This step allows you to quickly identify the different types of cyber threats. The collected data can be used for investigations and analyzes.
When a threat (present or probable) is identified, this is reported to security companies who send it to the specific blacklist and then a tweet is produced which is published on my profile: https://twitter.com/ecarlesi
The analysis of the data collected during this phase can be used as a history to identify patterns that allow forecasts on future scenarios.
The second phase of the project aims to produce evidence of phenomena deriving them from patterns discovered by the analysis performed by the components operating in phase one.
Currently, approximately 250000-300000 second-level domains are registered every day. Many of these domains are used to carry out cyber threats: spam, phishing, c2c, etc.
The information that can be acquired through the WHOIS service is not really useful in most cases. In fact, due to the anonymization options, the data are too generic and do not allow to be traced back to the real owner of the domain.
The only fact that is currently taken into account by the solution is the company that registered.
Not all providers have the same reputation. Users who make massive registrations, for example, tend to use cheaper providers who therefore see their reputation lower than others and consequently we attribute a lower initial score to registrations made with these companies.
Another indicator that is taken into consideration by the solution is that linked to the SSL certificate, its issuer and its duration.
This first information collected contributes to the production of a score that is associated with each domain. This score is added to that produced by the subsequent phases and thus contributes to the overall evaluation of the domain.
The main analysis phase is the one where the contents of the website are analyzed. The contents are downloaded and analyzed to verify that there is clearly dangerous or potentially dangerous content. The verification of the contents is based on a database of signatures which is enriched daily and which in the future will be able to learn from the analysis history.
The solution is based on several underlying systems which interacting allow to implement the required logic. The following paragraphs describe the main systems and their roles.
Zefiro
The Zefiro project was born from the idea of having active monitoring of the domains that are registered. This monitoring allows you to “see what happens in the world” before this actually happens (the purchase of the Internet domain, in fact, turns out to be one of the first activities that are carried out when starting a project). The project fulfills this requirement: to receive notification of domains that are registered in a short time, on average a few (10-16) hours.
This component was developed using .NET Framework 4.7 and runs on Windows 2019 using a SQL Server 2019 database. The evolution of this project will be in its rewrite using .NET Core.
Currently the component writes its logs into files. In the future, these files will have to flow into a logs management platform to allow more immediate monitoring and the creation of alerts in the face of logged events.
Miniluv
This project uses information related to the domain (domain name, WHOIS, HTTPS certificate and more) to associate a risk score to each domain name. This score is used later to alter the normal monitoring mode. The domains with a score below a certain threshold are sent via a notification to the subscribers of a specific mailing list.
This component was developed using .NET Framework 4.7 and runs on Windows 2019 using a SQL Server 2019 database. The evolution of this project will be in its rewrite using .NET Core.
Currently the component writes its logs into files. In the future, these files will have to flow into a logs management platform to allow more immediate monitoring and the creation of alerts in the face of logged events.
Smith
The Smith project implements the logic of monitoring and orchestrates the agents who perform the scans. Each scan produces a report which is saved by Smith and used for statistics and future model training.
The sending of reports to companies in the sector concludes the processing phase in the event that a threat (current or probable) is found. The report is then converted into a tweet and posted to my Twitter account.
The Server component was developed using ASP.NET Core and runs on Linux machines using a SQL Server 2019 database. We currently have three instances in three virtual machines managed by the same physical host. In the future, these services will need to be on physical hardware to improve performance.
The Agent component was developed using .NET Core and runs on Linux machines. Communication with servers takes place via HTTPS calls. We currently have nine instances each on a dedicated virtual machine. The machines are spread across two providers on four continents. The current load on these machines is 90% and to stay below this threshold it was necessary to limit some components, penalizing overall performance.
Currently the component writes its logs into files. In the future, these files will have to flow into a logs management platform to allow more immediate monitoring and the creation of alerts in the face of logged events.
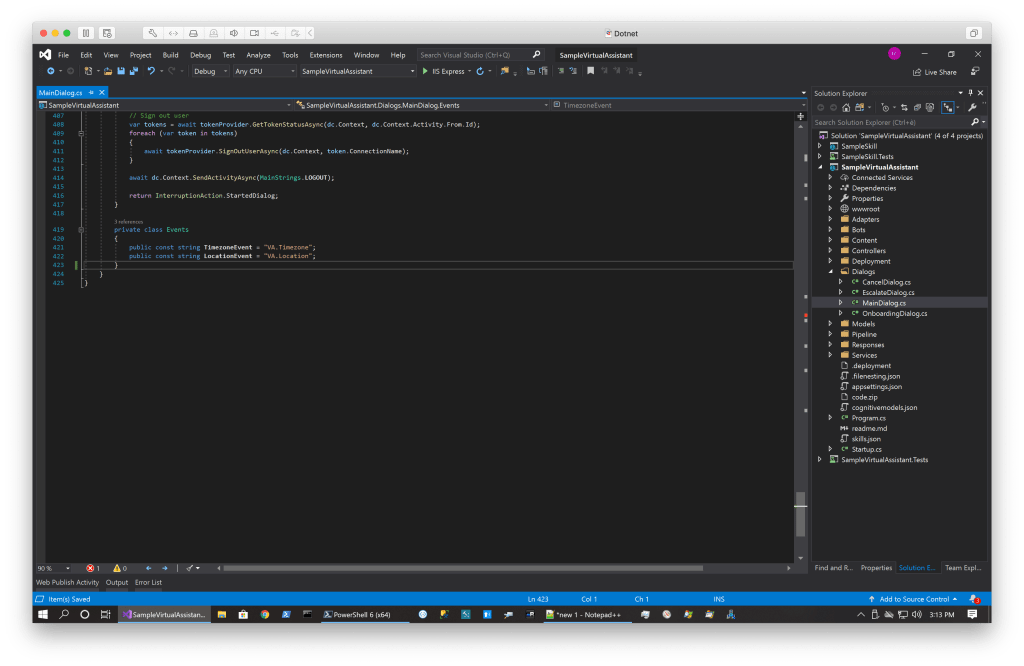
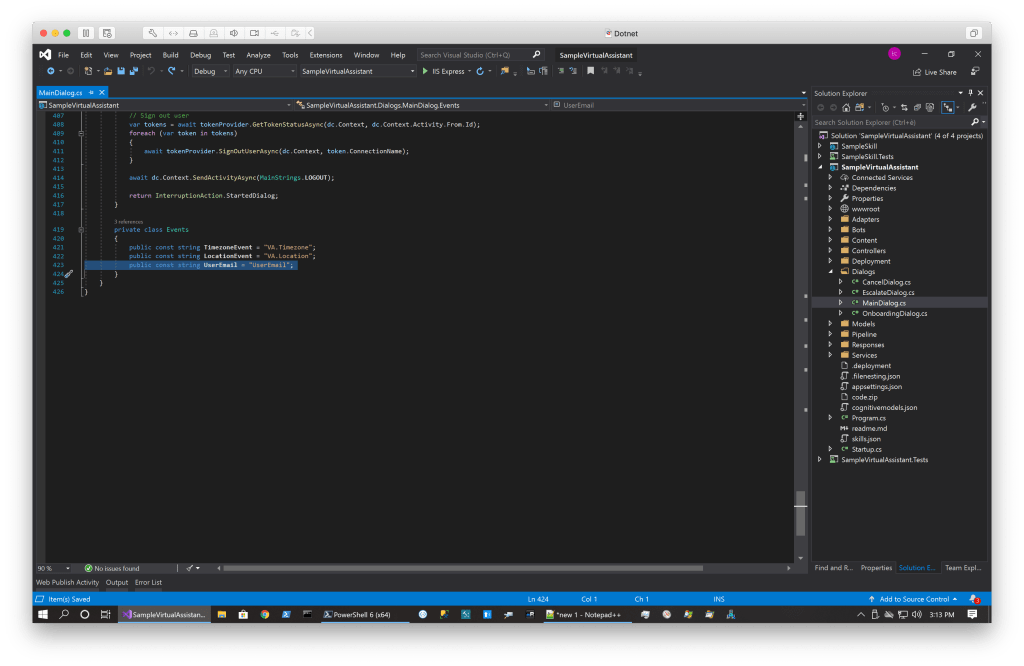
Working on a Skill, I needed to block the execution of a WaterfallDialog while waiting for a specific event to arrive. The solution is simple and based on the use of EventPrompt. Below I show how to use it.
For some weeks I have been working on a project based on Bot Framework. Things were going well until I found myself in the position of having to share information between a Virtual Assistant and a Skill … Given that it gave me problems and that my requests made on Stackoverflow did not produce answers, I share the solution here.
Create a Virtual Assistant using the Virtual Assistant Template and name it SampleVirtualAssistant
Add to the solution SampleVirtualAssistant a new project (the Skill) using the Skill Template and name it SampleSkill
Rebuild the
solution.
In the following example I’ll show the commands as execute on my system, where my sources path is C:\Users\emili\source\lab, be aware to replace it with your correct path!
Open
PowerShell Core to execute the following commands.
Deploy to Azure the required resources.
cd c:\users\emili\source\lab\SampleVirtualAssistant\SampleVirtualAssistant\SampleVirtualAssistant
.\Deployment\Scripts\deploy.ps1
cd C:\Users\emili\source\lab\SampleVirtualAssistant\SampleSkill\SampleSkill
.\Deployment\Scripts\deploy.ps1
Now we go to work on the code.
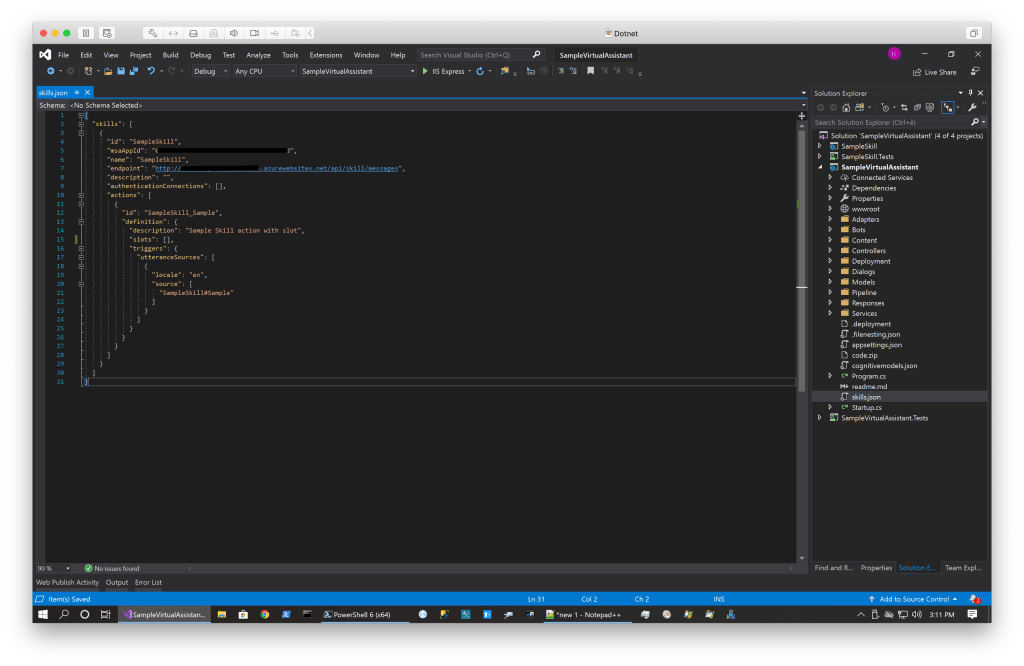
In the project SampleSkill, edit the file manifestTemplate.json to add the required slot.
Over time, I have used Key Vault several times. I think it’s a great solution and I clearly recommend its use to everyone!
Since every time I talk about it with something, after the enthusiasm I am asked how to use it, I have prepared a simple project that illustrates the basics of its use.
Use this PowerShell commands to create the Vault:
# Using this command you can see all the location available
az account list-locations

az login

# The following command a new resource group. If you already have one you can use it.
# Choose your location
az group create -n "resource-group-name" -l "North Europe"

az provider register -n Microsoft.KeyVault

# Create the Key Vault. This call return the URL of the key vault.
az keyvault create --name "keyvault-name" --resource-group "resource-group-name" --location "North Europe"

# Add some secrets to the vault
az keyvault secret set --vault-name "keyvault-name" --name "secret-1" --value "test 1"
az keyvault secret set --vault-name "keyvault-name" --name "secret-2" --value "test 2"
az keyvault secret set --vault-name "keyvault-name" --name "secret-3" --value "test 3"

# List all the secrets in the specified vault
az keyvault secret list --vault-name "keyvault-name"

# Create an app. this call return the appId and secret to use in the app.config
az ad sp create-for-rbac -n "app-name" --skip-assignment

# Trust the key vault to be accessed with the app credentials
az keyvault set-policy --name "keyvault-name" --spn <use the appId previously created> --secret-permissions get list set
In this example, credentials are used to log in to the vault, I recommend, if you have an application in Azure, to set up an identity to log in to the vault.


You must be logged in to post a comment.